Run using custom data
This tutorial builds on the previous tutorial. You will learn how to run the workflow with your own genomic data, using the reference data from the previous tutorial as the genetic context for these new data. Although you will download data from GISAID for this tutorial, you can replace these data with your own local sequences and metadata in your future analyses.
Prerequisites
Run using example data. This tutorial sets up the command line environment used in the following tutorial.
Register for a GISAID account, if you do not have one yet. However, registration may take a few days. Follow alternative data preparation methods in place of Curate data from GISAID, if you wish to continue the following tutorial in the meantime.
Setup
If you are not already there, change directory to the ncov directory:
cd ncov
Curate data from GISAID
We will retrieve 10 sequences from GISAID’s EpiCoV database.
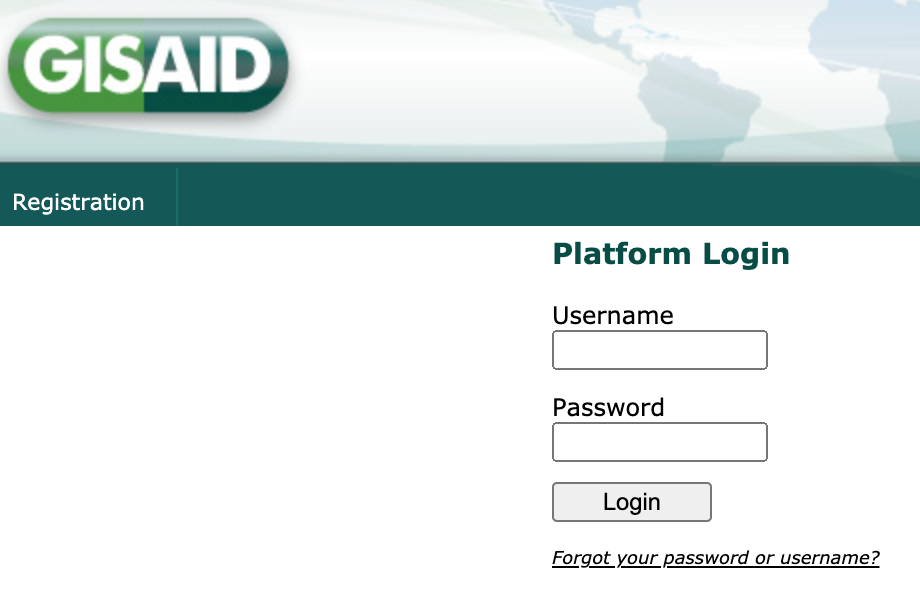
Navigate to GISAID and select Login.

Login to your GISAID account.
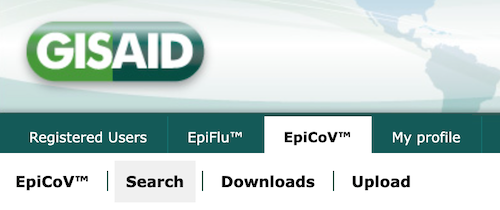
In the top left navigation bar, select EpiCoV then Search.
Filter to sequences that pass the following criteria:
Has a complete genome
Has high coverage
Has an exact collection date
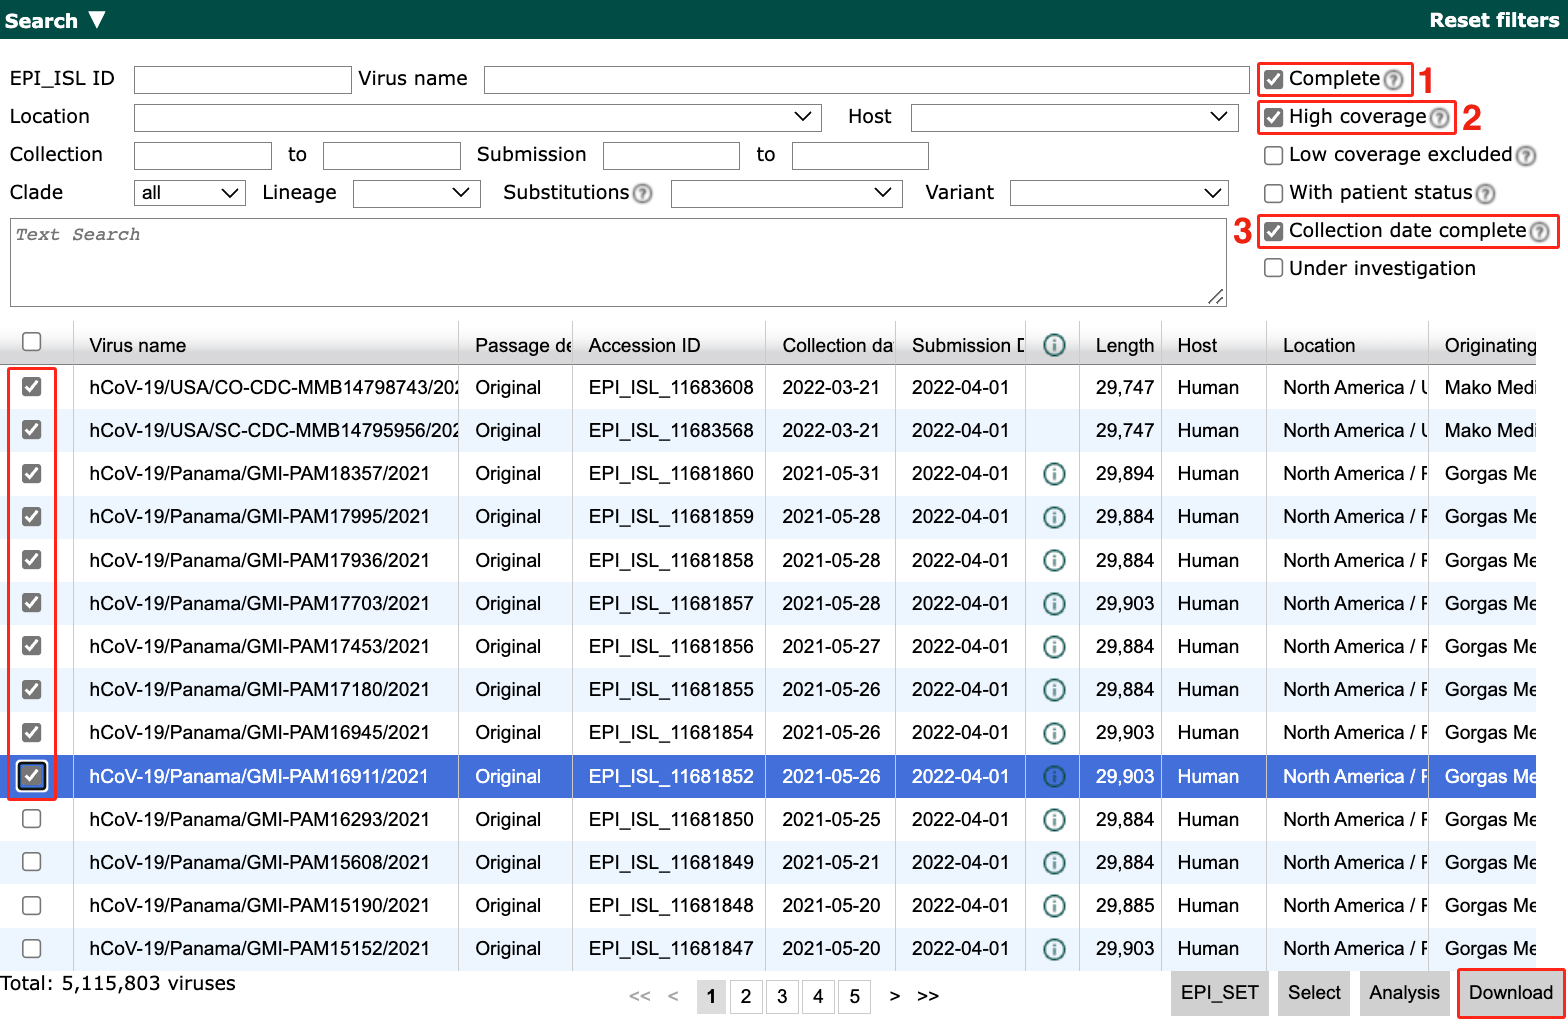
Select the first 10 sequences.
Select Download in the bottom right of the search results.
Select Input for the Augur pipeline as the download format.
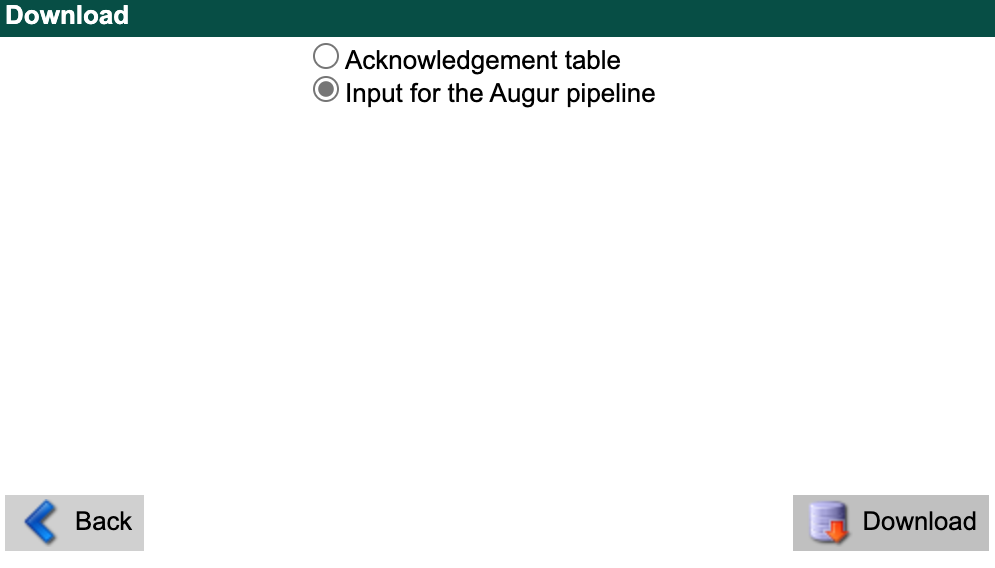
Note
You may see different download options, but it is fine as long as Input for the Augur pipeline is available.
Select Download.
Download/move the
.tarfile into thencov/data/directory.Extract by opening the downloaded
.tarfile in your file explorer. It contains a folder prefixed withgisaid_auspice_input_hcov-19_containing two files: one ending with.metadata.tsvand another with.sequences.fasta.Rename the files as
custom.metadata.tsvandcustom.sequences.fasta.Move the files up to the
ncov/data/directory.Delete the empty
gisaid_auspice_input_hcov-19_-prefixed folder and the.tarfile if it is still there.
Hint
Read the full data prep guide for other ways to curate custom data.
Run the workflow
From within the ncov/ directory, run the ncov workflow using a pre-written config file:
nextstrain build . --configfile ncov-tutorial/custom-data.yaml
Break down the command
The workflow can take several minutes to run. While it is running, you can investigate the contents of custom-data.yaml (comments excluded):
inputs:
  - name: reference_data
    metadata: https://data.nextstrain.org/files/ncov/open/reference/metadata.tsv.xz
    sequences: https://data.nextstrain.org/files/ncov/open/reference/sequences.fasta.xz
  - name: custom_data
    metadata: data/custom.metadata.tsv
    sequences: data/custom.sequences.fasta

refine:
  root: "Wuhan-Hu-1/2019"

builds:
  custom-build:
    title: "Build with custom data and example data"
    subsampling_scheme: all
    auspice_config: ncov-tutorial/auspice-config-custom-data.json
This is the same as the previous file, with some additions:
A second input for the custom data, referencing the metadata and sequences files downloaded from GISAID.
A
buildssection that defines one output dataset using:A custom name
custom-build, which will be used to create the dataset filename, in this caseauspice/ncov_custom-build.json.A custom title
Build with custom data and example data, which will be shown when you visualize the dataset in Auspice.A pre-defined subsampling scheme
all, that tells the workflow to skip subsampling and use all input data.An Auspice config file,
ncov-tutorial/auspice-config-custom-data.json, that defines parameters for how Auspice should display the dataset produced by the workflow. It has the following contents:{ "colorings": [ { "key": "custom_data", "title": "Custom data", "type": "categorical" } ], "display_defaults": { "color_by": "custom_data" } }
This JSON tells Auspice to:
Create a new coloring
custom_datathat reflects a special metadata column generated by the ncov workflow. When there is more than one input, each data input produces a new final metadata column with categorical valuesyesornorepresenting whether the sequence was from the input.Set the default Color By as the new
custom_datacoloring.
Note
Build is a widely used term with various meanings. In the context of the ncov workflow, the
builds:section defines output datasets to be generated by the workflow (i.e. “build” a dataset).
Visualize the results
Run this command to start the Auspice server, providing auspice/ as the directory containing output dataset files:
nextstrain view auspice/
Navigate to http://127.0.0.1:4000/ncov/custom-build. The resulting dataset should have similar phylogeny to the previous dataset, with additional sequences:
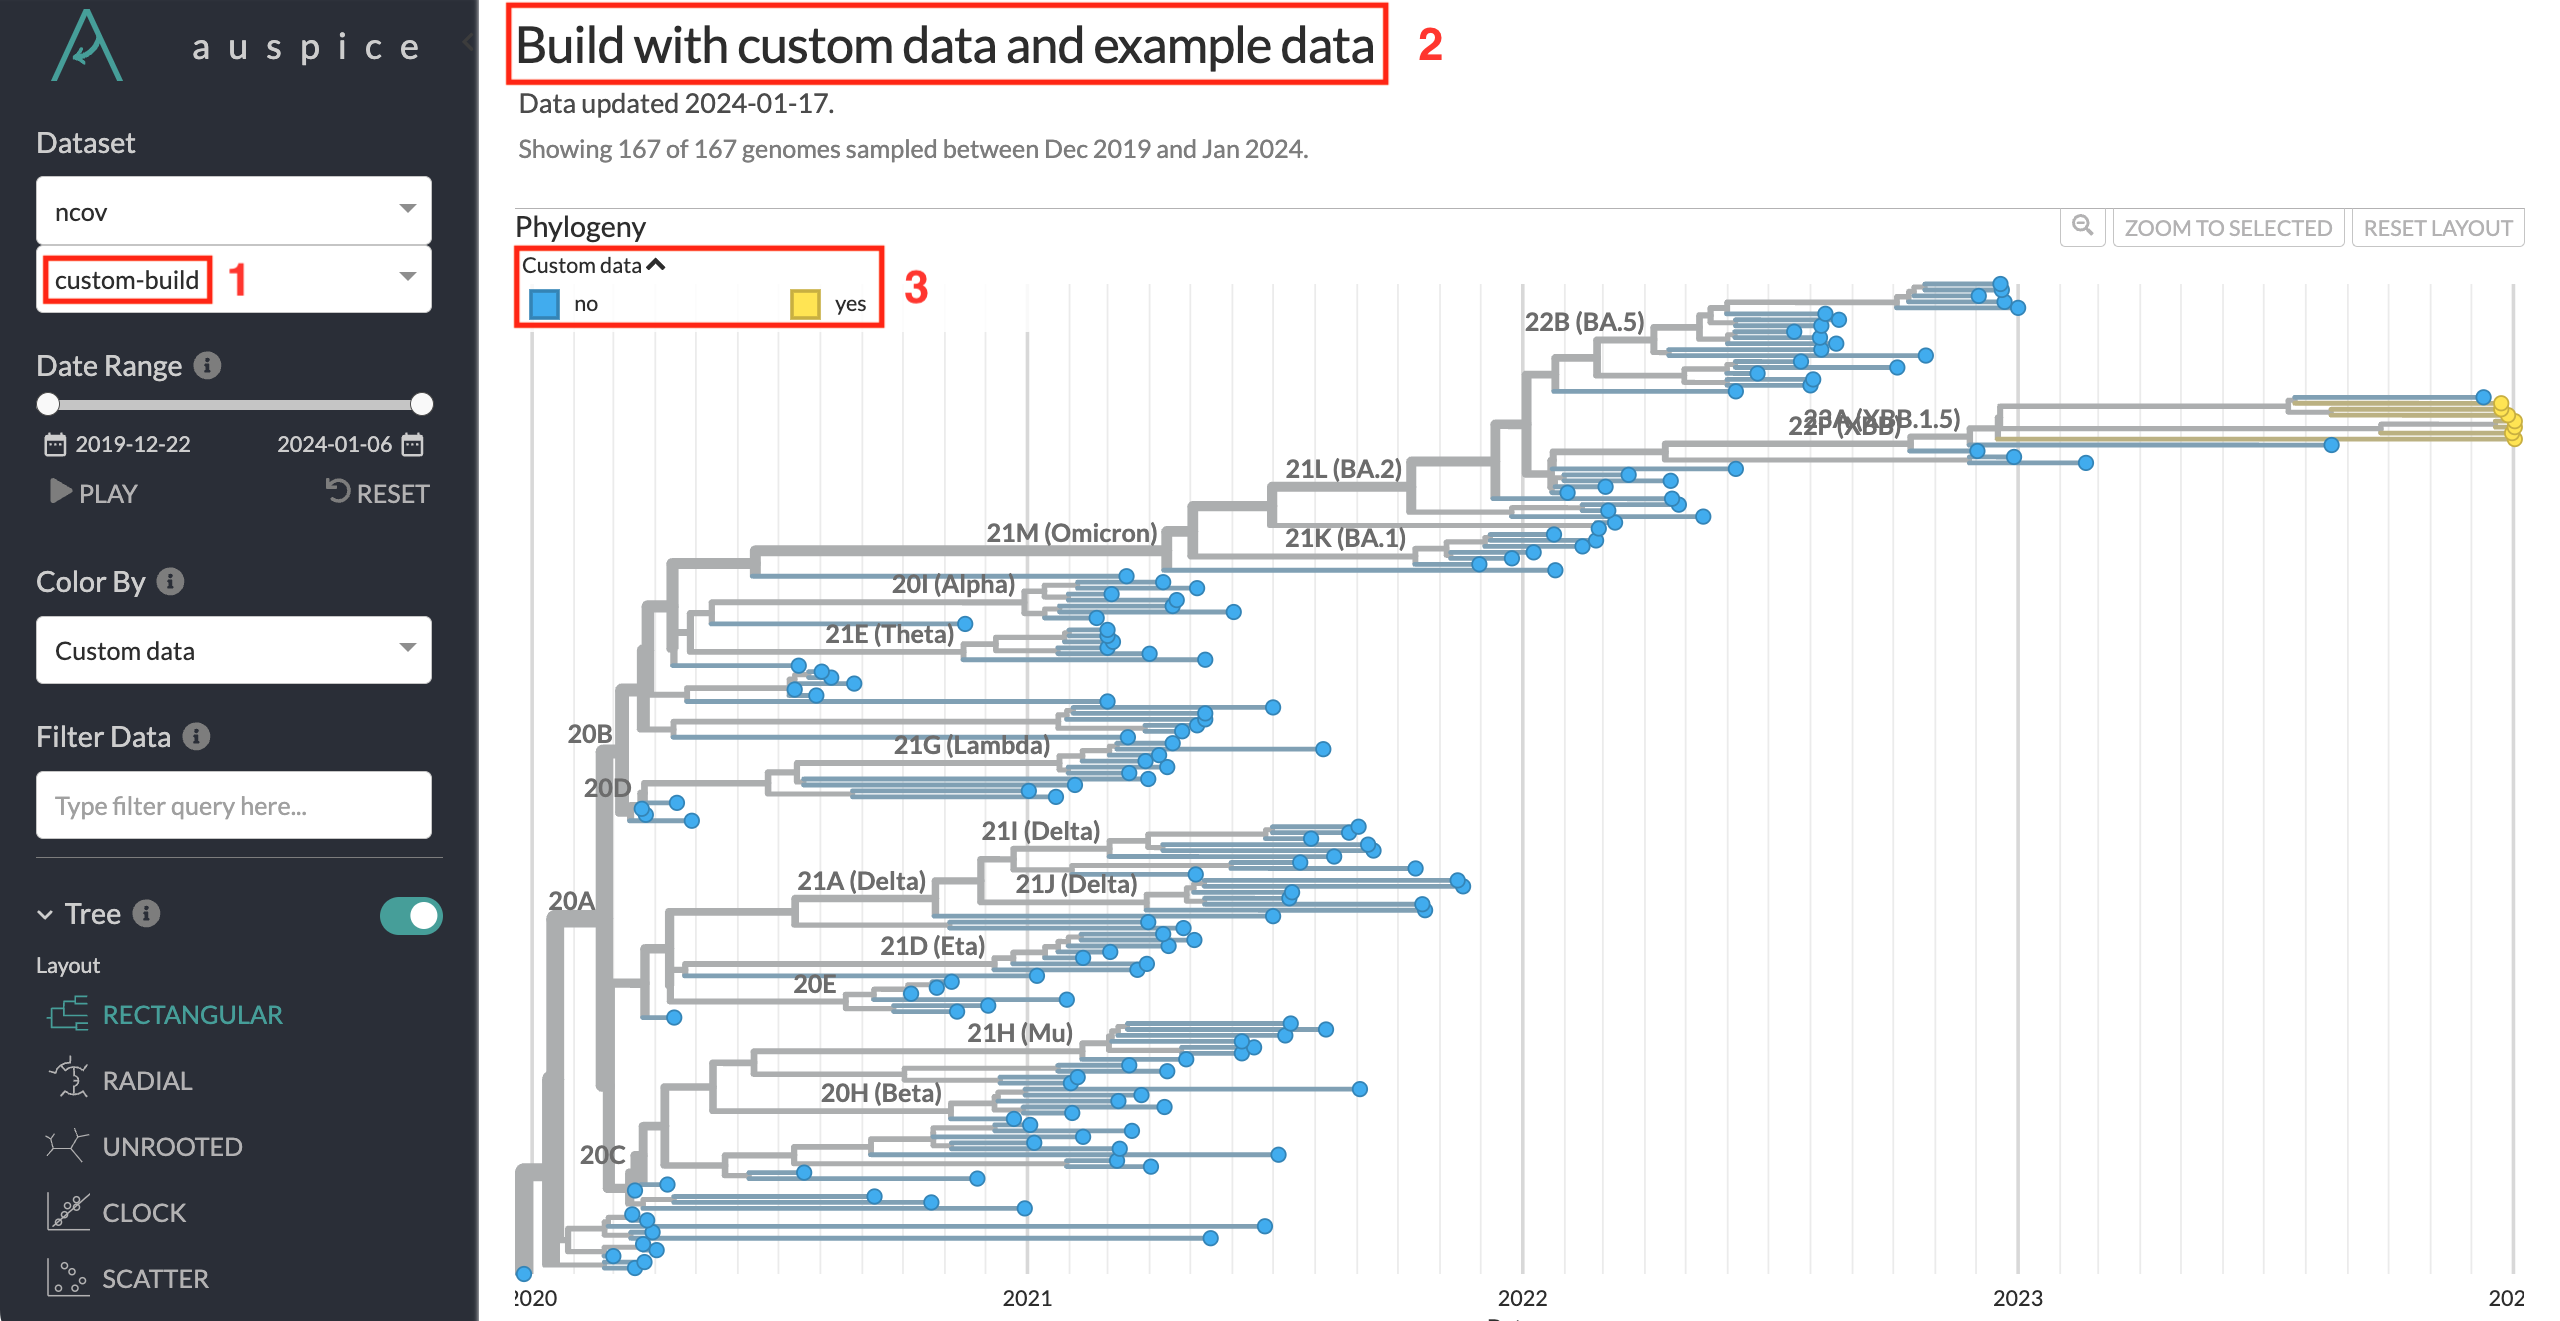
The custom dataset name
custom-buildcan be seen in the dataset selector, as well as the dataset URL.The custom dataset title can be seen at the top of the page.
The custom coloring is used by default. You can see which sequences are from the custom data added in this tutorial.
Note
You may not see all 10 custom sequences - some can be filtered out due to quality checks built into the ncov workflow.